In Revit, export a dwg-file for each plan that you want to reinforce.

Create a new AutoCAD-drawing and xref the Revit export into it, making sure that the instertion point is 0,0.
Start reinforcing. Here I created a simple reinforcement plan using the palettes surface reinforcement tools.
Save the drawing and go back to Revit.

Back in the plan view, run the link CAD command. Import CAD can also be used, but this will not allow you to update the drawing to reflect changes made in the dwg-file.
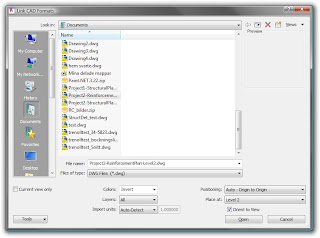
Make sure that Positioning is set to Auto - Origin to origin so that the drawings line up correctly.
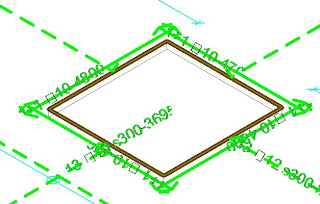
If you have used the same scales in AutoCAD as you have set in Revit, dashed lines should appear the same. However, as you can see in the picture to the left, I have lost the diameter symbol for the rebar text. This has to do with Revit using standard Windows fonts while AutoCAD uses SHX-files for text.
In your Revit installation folder ...\Program Files\Autodesk Revit Structure 2010\Data, there is a file named shxfontmap.txt. Open this in a texteditor. Here you can see what fonts AutoCAD shx-files are replaced by when imported into Revit. To add a font, simply write on a new row the name of your shx-file followed by a tab and the name of the font you wish to use in Revit. Depending on the font used, it may require some testing before the texts look ok.
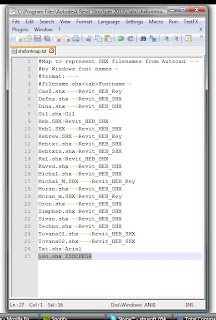
In this case I used "iso.shx isocpeur". The diameter symbol looks ok, but a linebreak has appearedd in some of the texts.
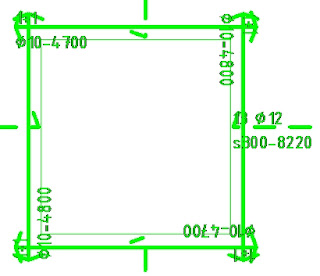
In this picture I used "iso.shx isocp", which seems to be working for me.
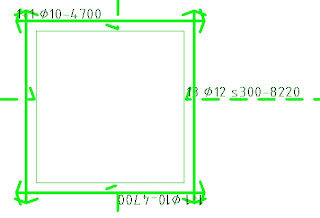
Edit: It has come to my attention that the isocp font is too thin for printing properly. This is probably because it is not a proper TrueType font. Instead I have found that using Arial Unicode MS has given me good results. Diameter symbols show up OK and there dont seem to be any incorrect carriage returns.

